 |
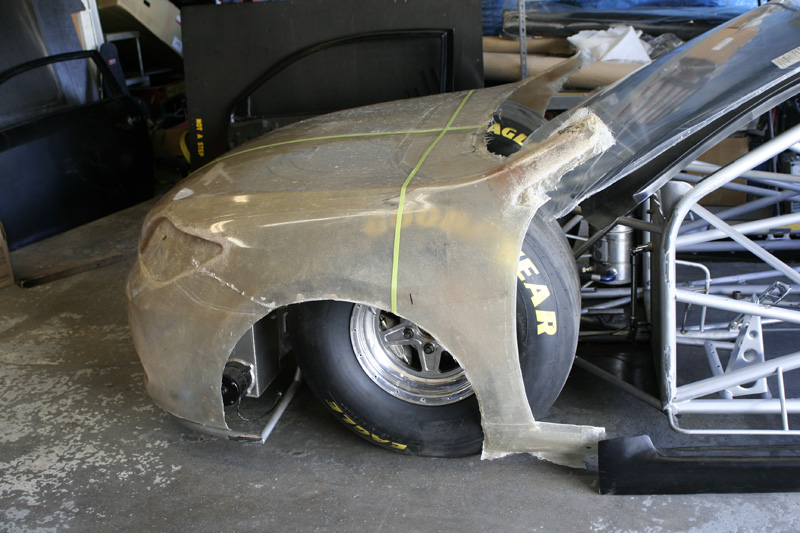
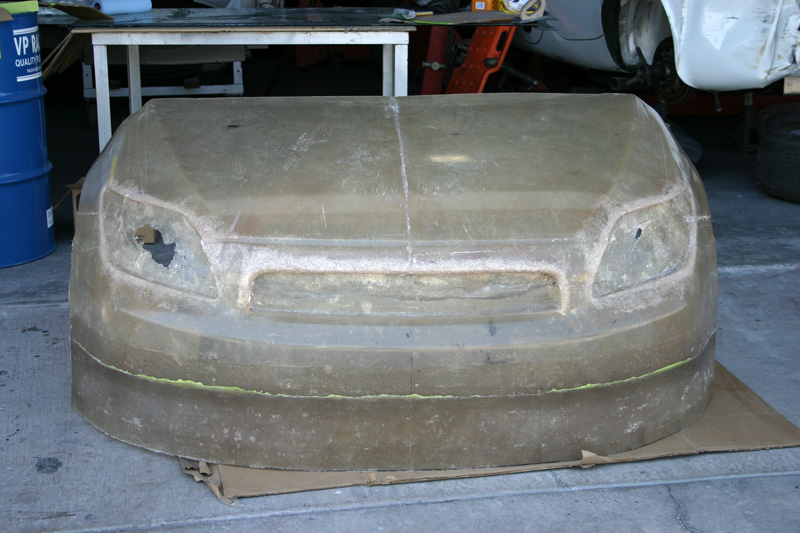
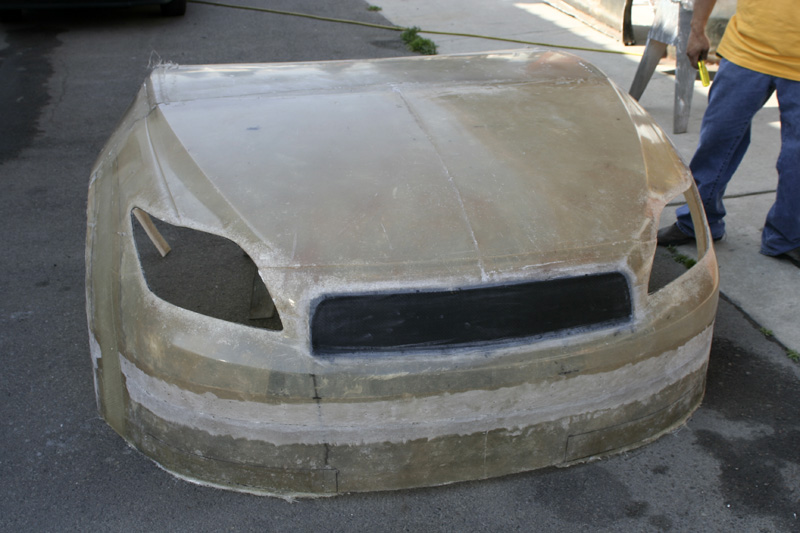
The front end that World racing supplied to us was just a fiberglass piece splash molded from the stock car. As you can see, it was a little too short and not exactly the right shape. |
 |
Luckily, the Scion tC is a relatively wide car so we didn't have to add anything to the width of the hood, in the center section. |
 |
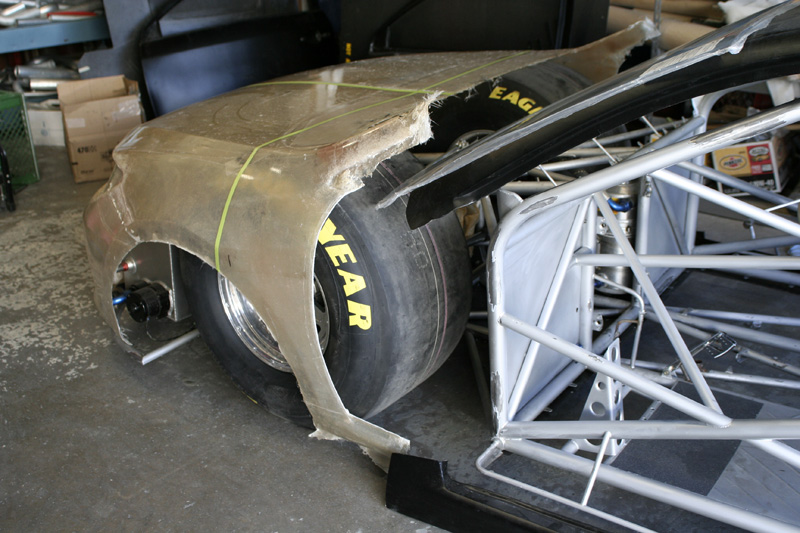
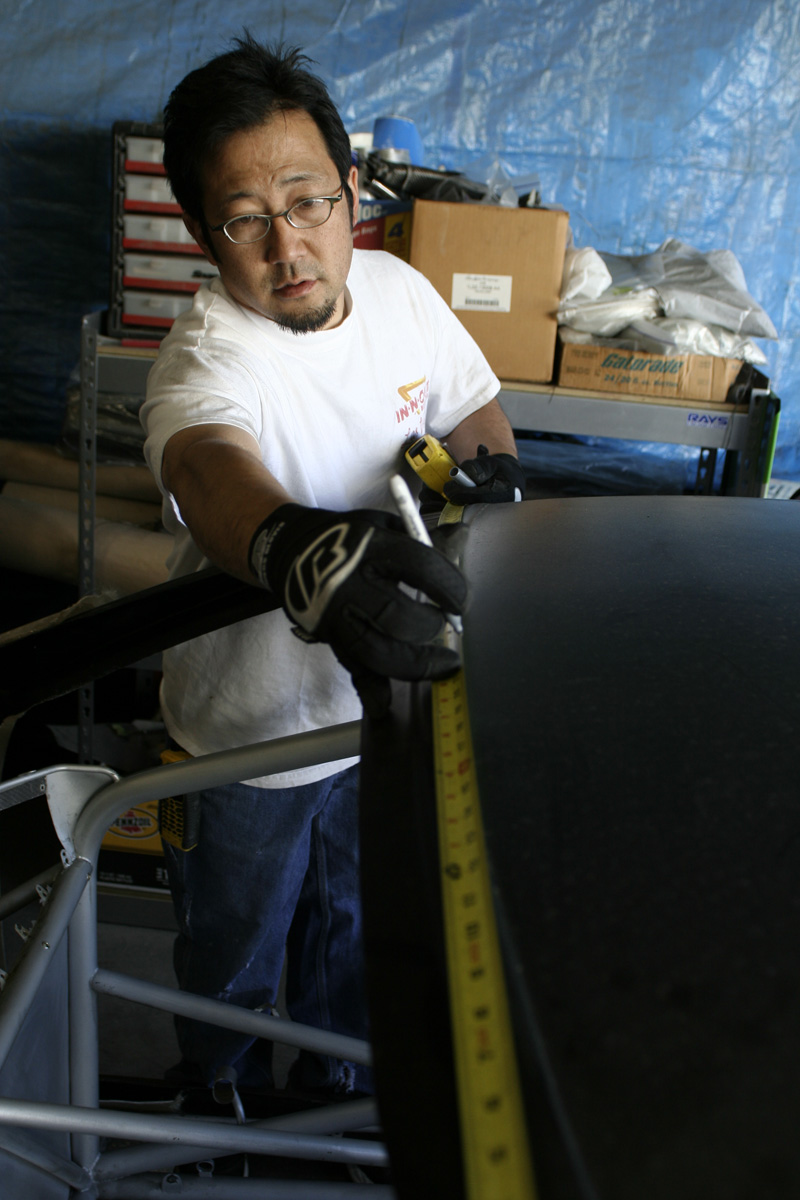
Here, you can see how we have marked the centerline of the nose to line up with the chassis. Notice also the gigantic funny car sized slicks. (damn those things are big) Another thing is that they grow in height at top speed.(Goodyear told us at least 3 1/2 ") |
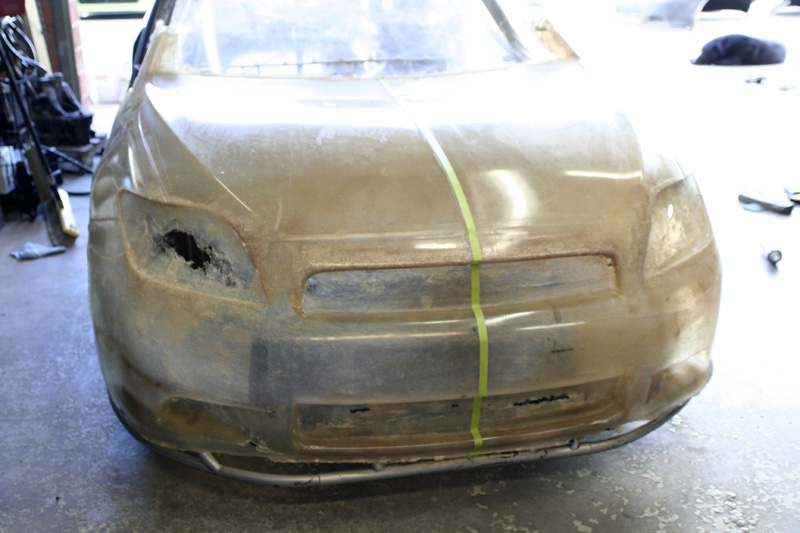 |
This is the front view. The lower grille and foglight cutouts were in the way and weren't doing us any favors aerodynamically so they had to go. |
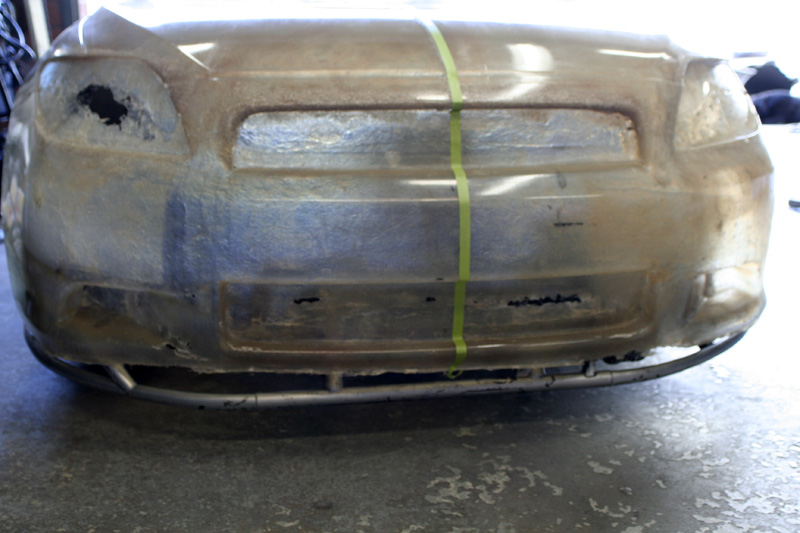 |
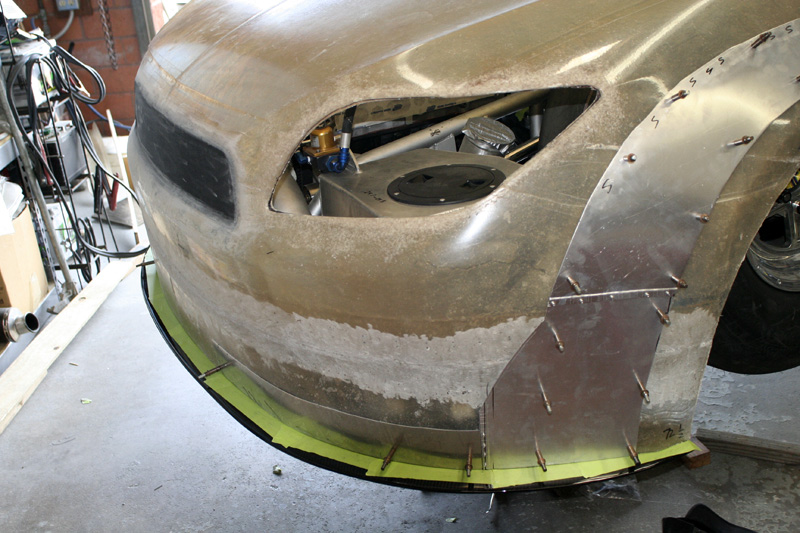
Scion wanted the car to look as much like a factory tC as possible, so we suggested using the stock headlights.(on most drag cars, they are just airbrushed - ours even work!) |
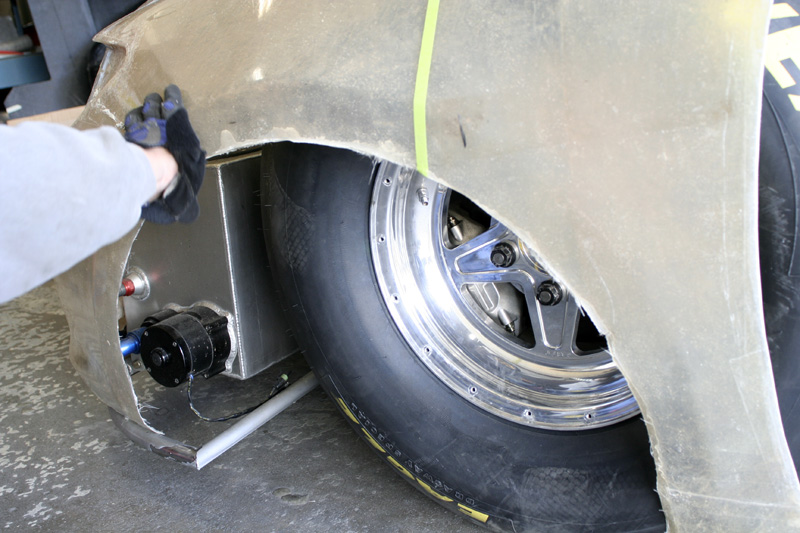 |
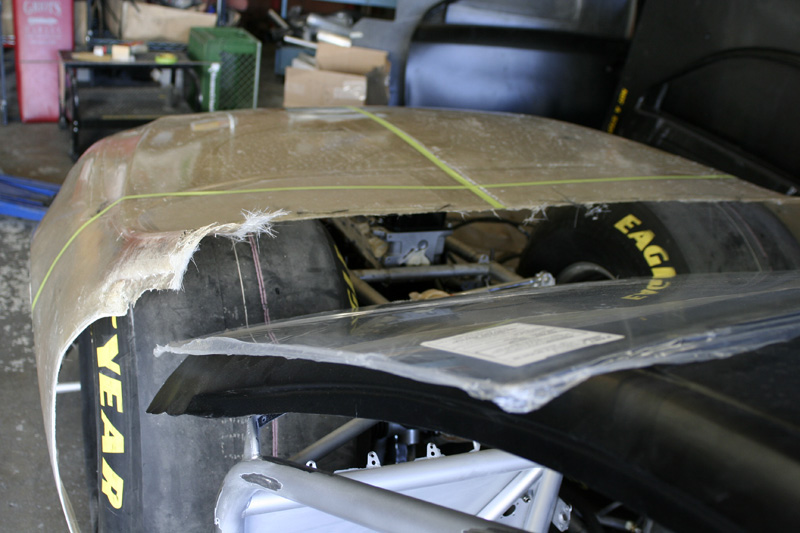
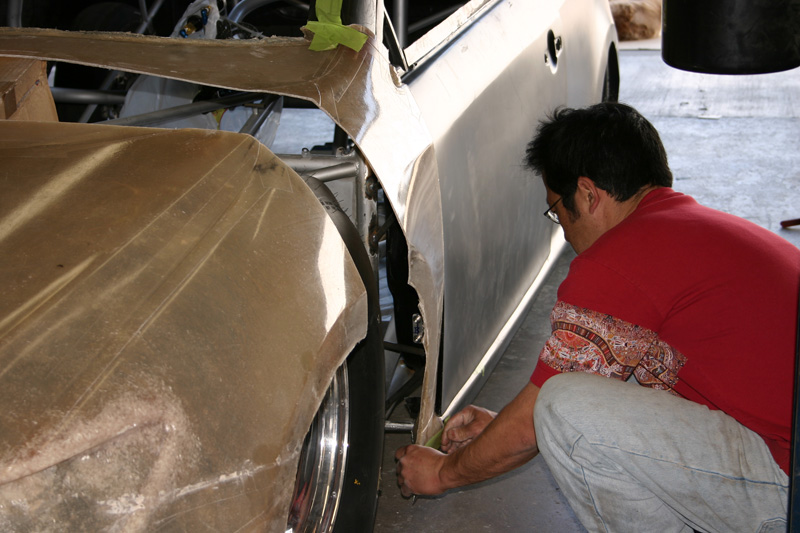
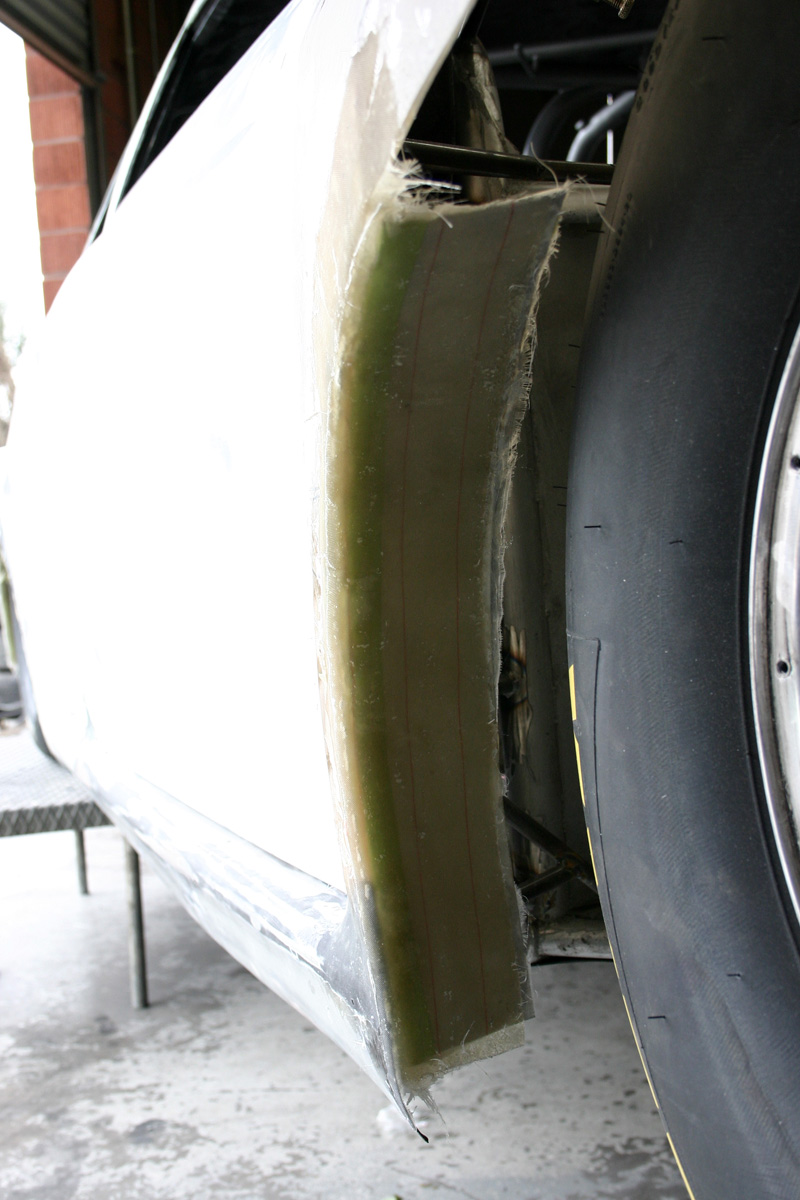
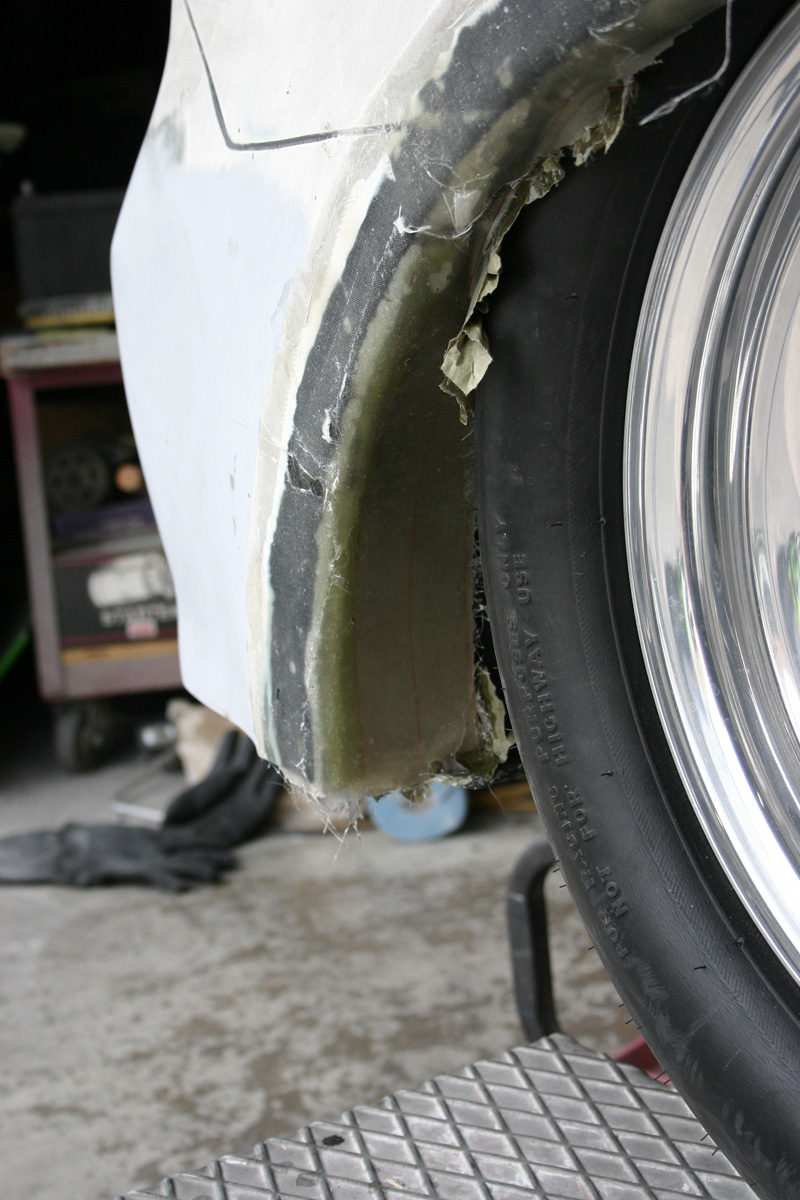
The wheelwells were obviously too small, so this was going to require some thought. Hmmm. |
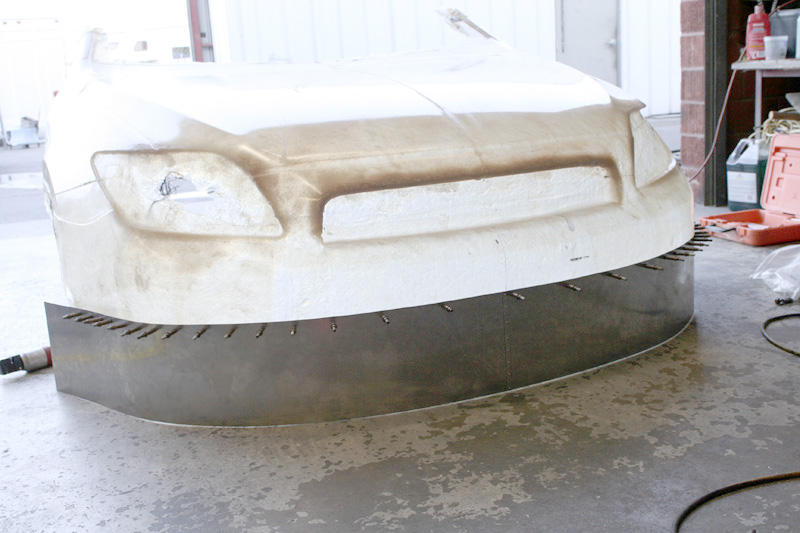 |
First, we cut off the bottom of the front end, formed a piece of aluminum sheet and cleco fastened it to the nose. This will serve as a kind of "mold" to form the fiberglass. |
 |
The first step was to try to figure out where the body should sit on the chassis. |
 |
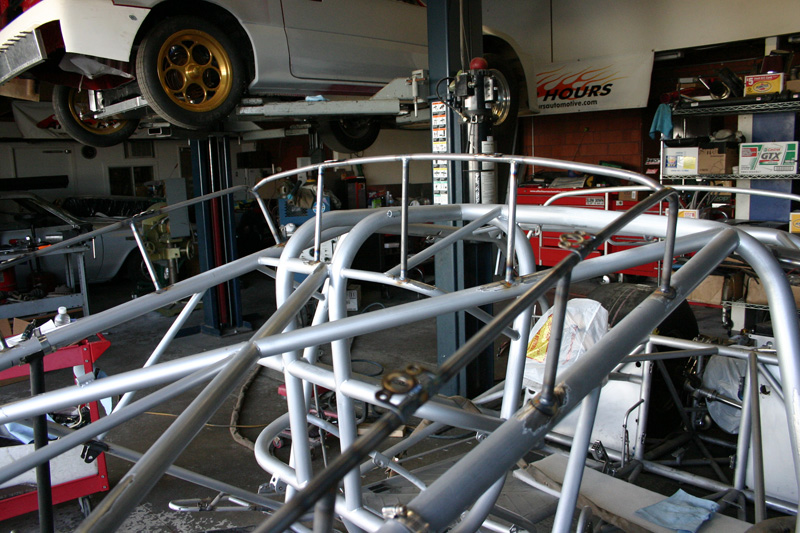
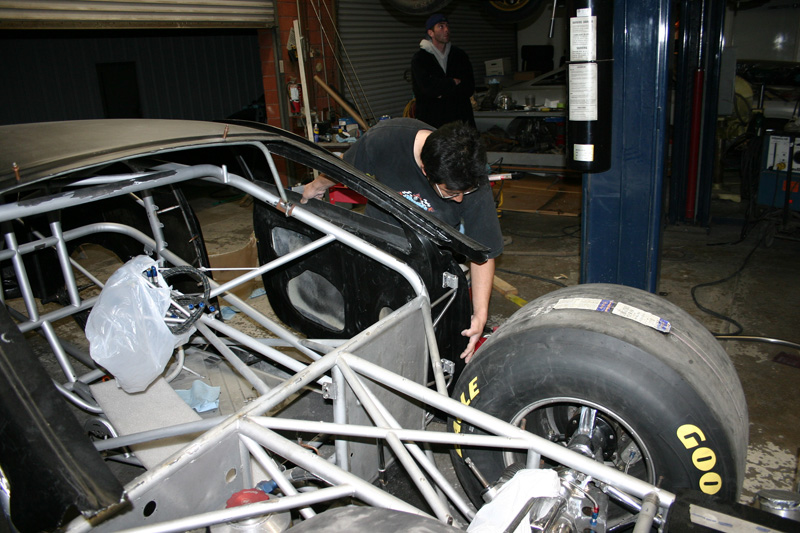
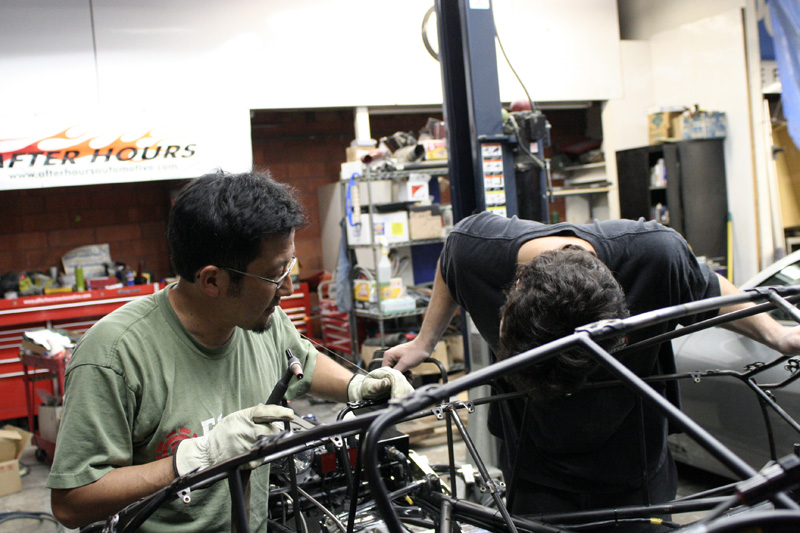
Then, we had to fabricate a body mounting system. It had to be almost like a mini rollcage for the body because the main cage was at least 6" away from any mounting points. Kareem, the crew chief, also wanted the body to be easily removable to service the car between races. |
 |
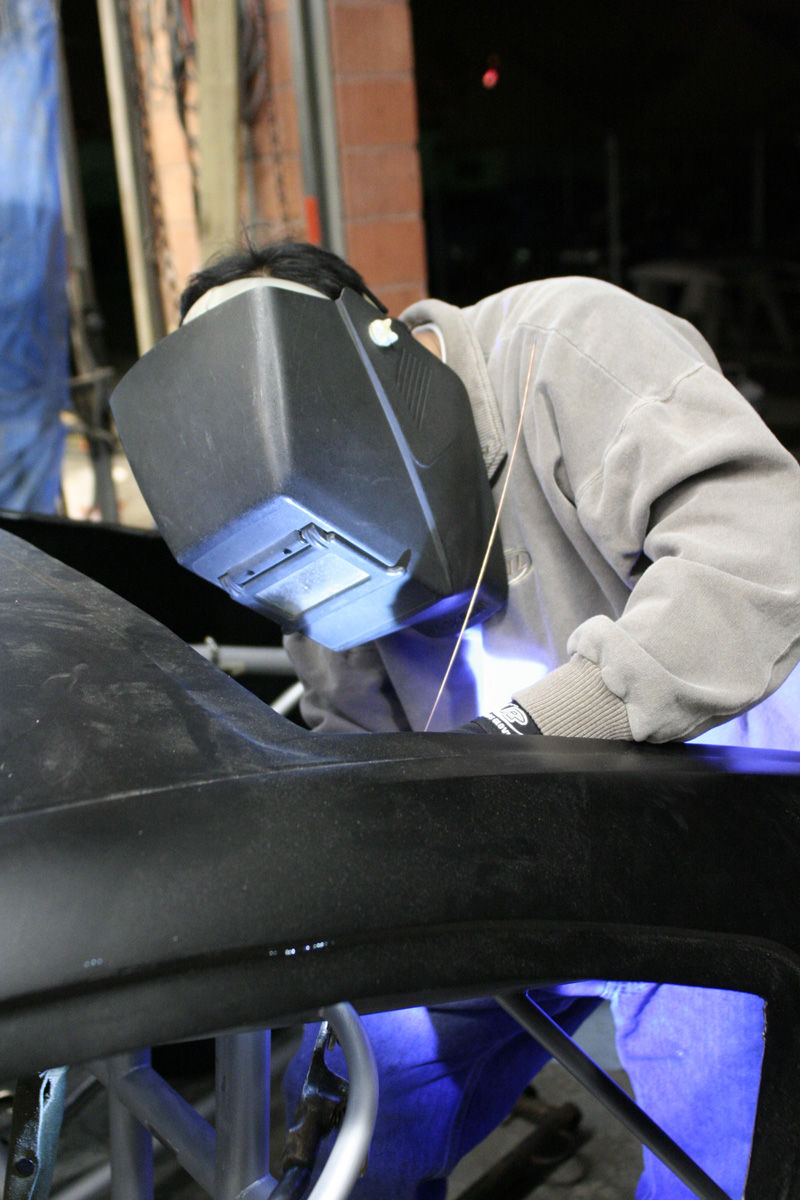
Here, we are removing some of the old tubing with a sawzall. |
 |
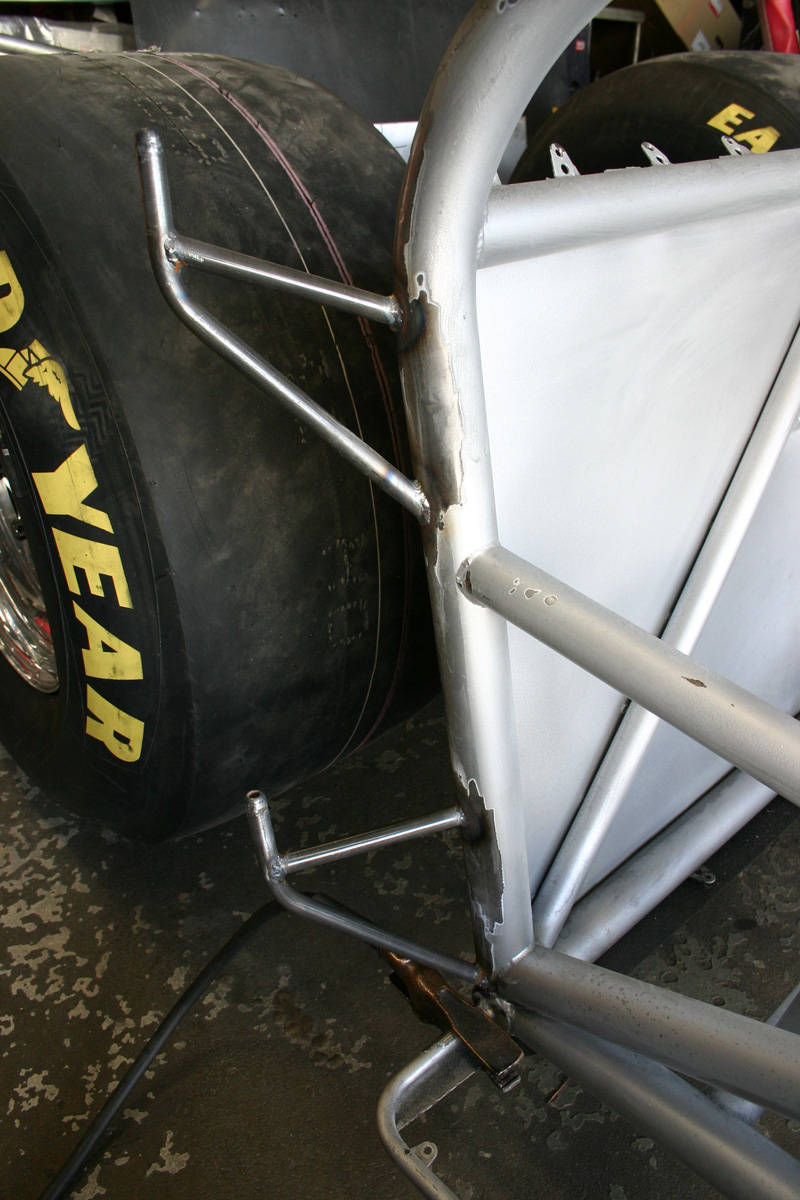
Here is one of the side body mounts, it is made of 1/2" .035 wall chromoly tube. We hid the dzus fastners in the doorjamb so you wouldn't see them from outside. |
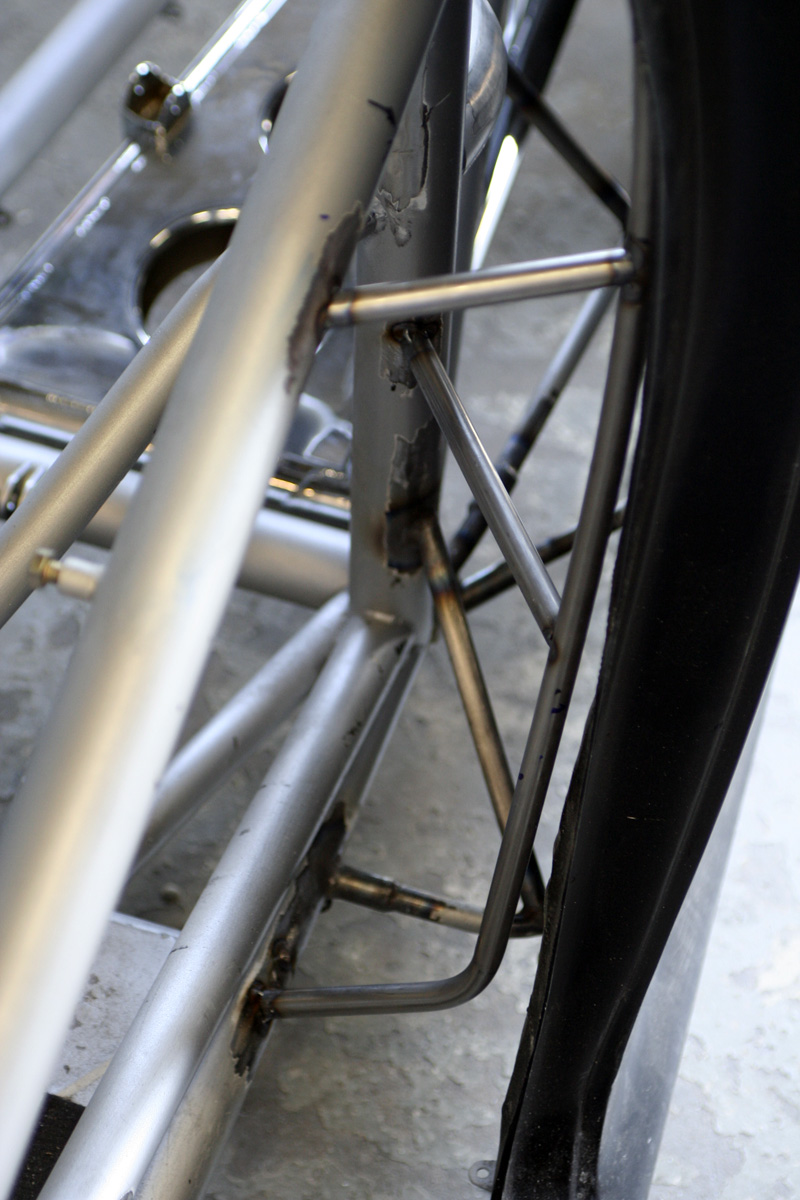 |
This is a little closer look. Because of the schedule, we tried to use as much of the original car as possible. You can see near the bottom where we shortened and spliced some of the small tubes for the floor mounts. |
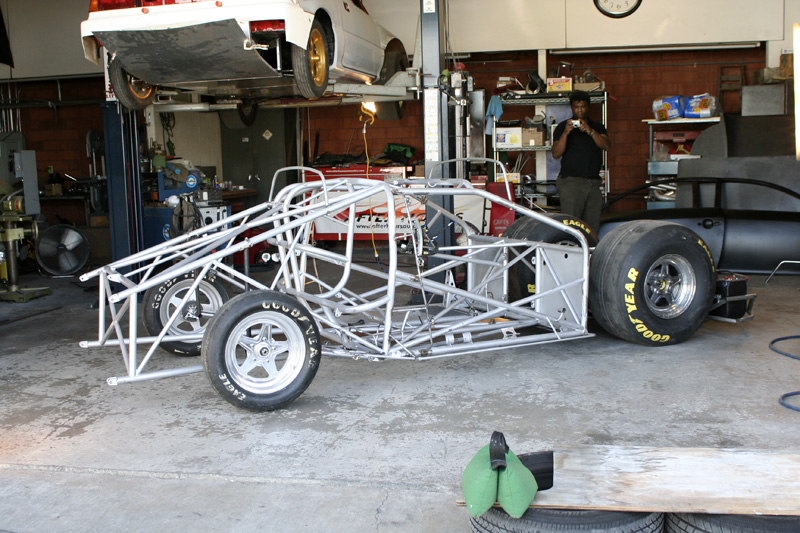 |
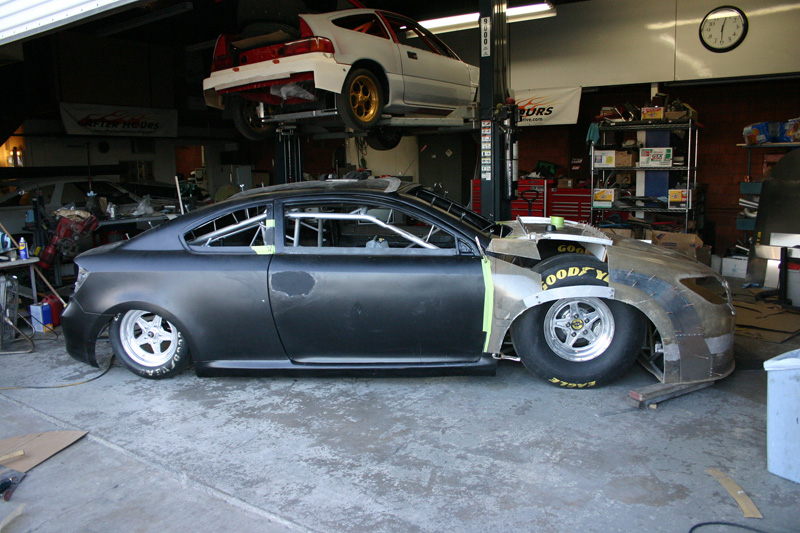
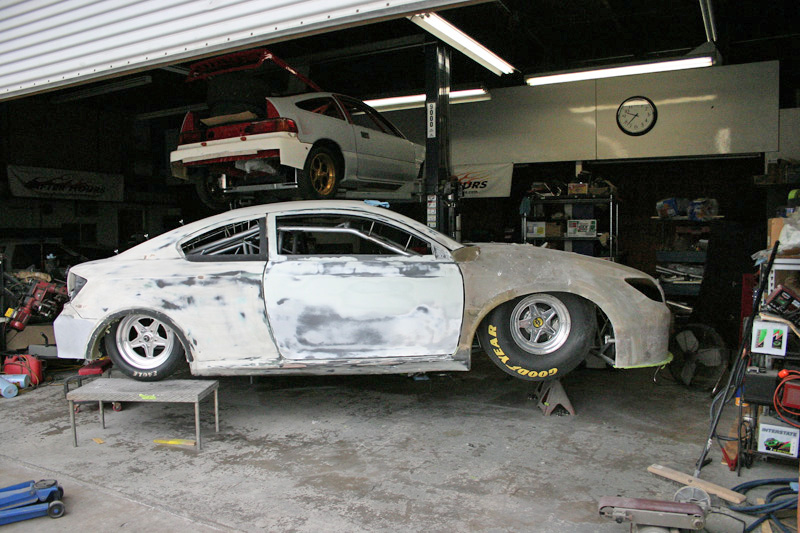
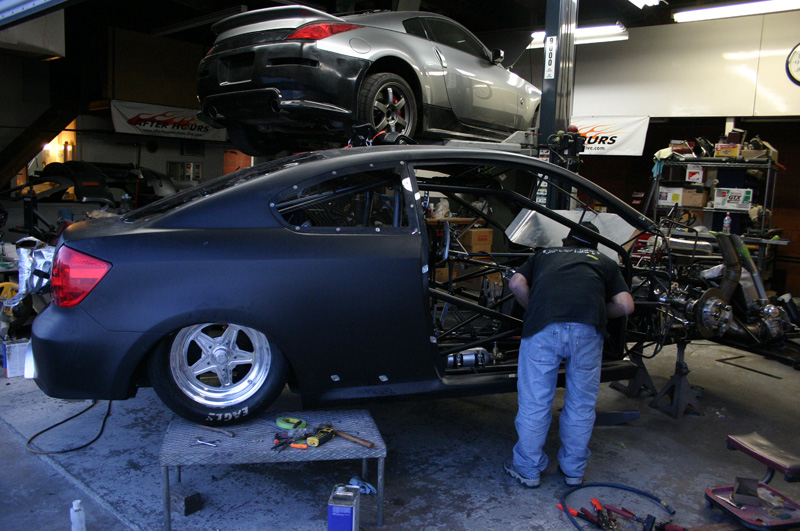
This is pretty much what we started out with. The bare, 2004 chassis that was made to fit a chop top Celica body. The challenge was, to fit a 2005 Scion tC body, retaining the stock dimensions so it would still be recognizable, fit the giant 33x14.5 inch slicks in front with space for tire growth, and have some forward visibility for the driver. Oh, and still be able steer the darn thing. |
 |
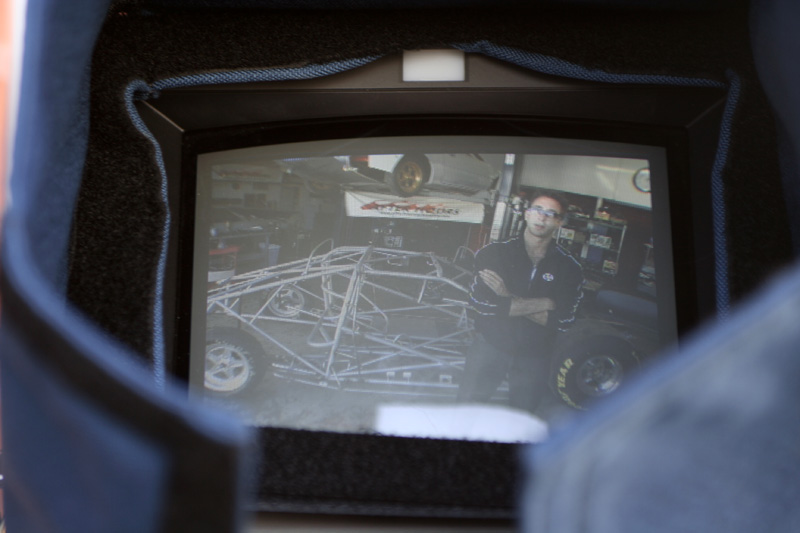
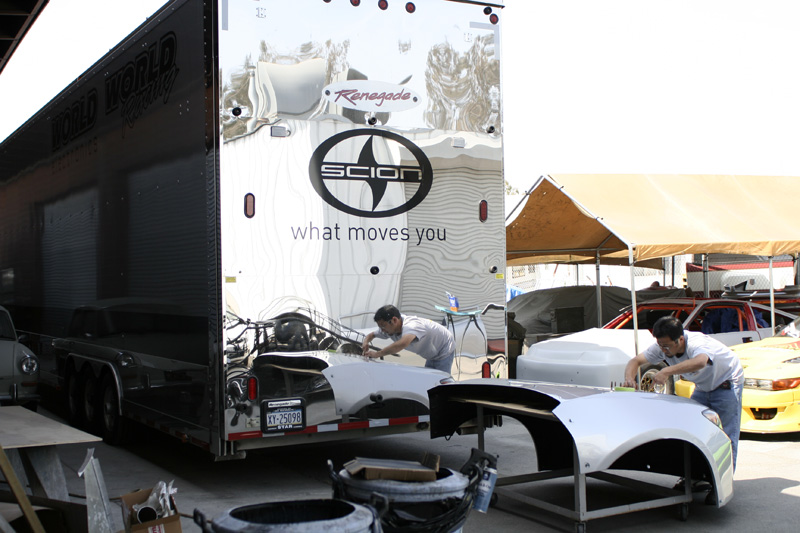
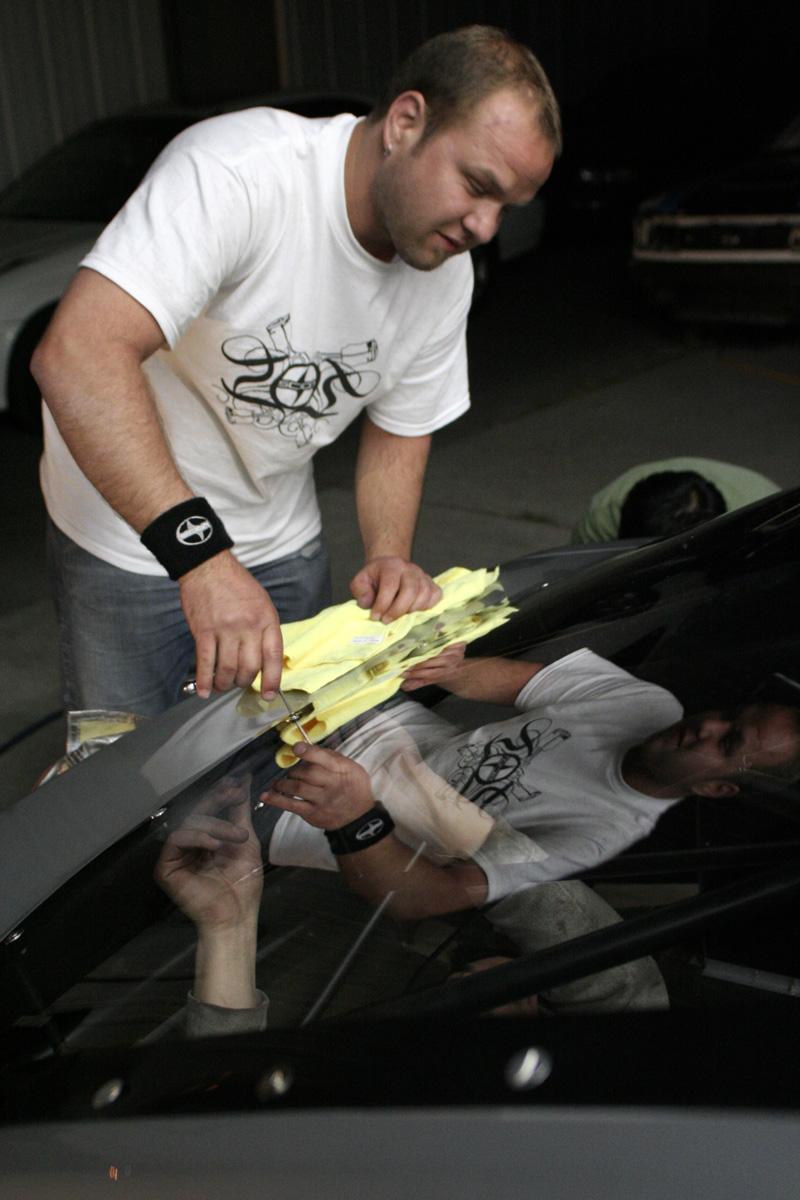
The film crew from Scion was on site to record the buildup for their website. |
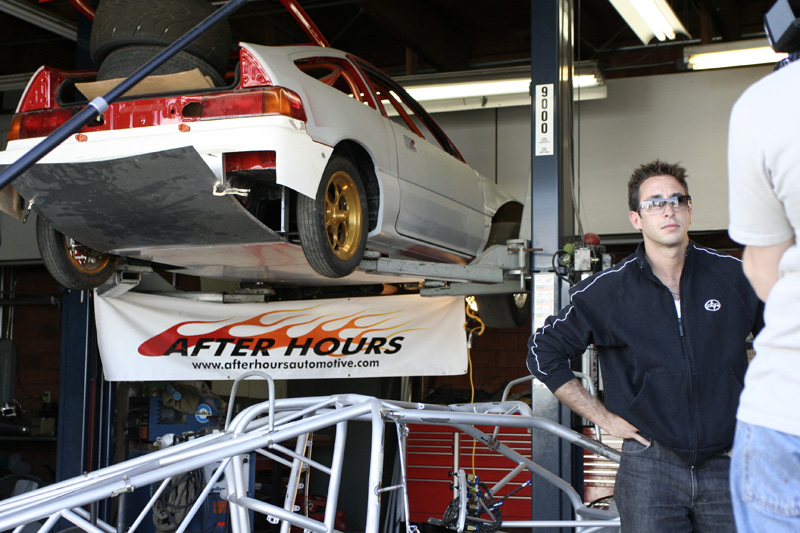 |
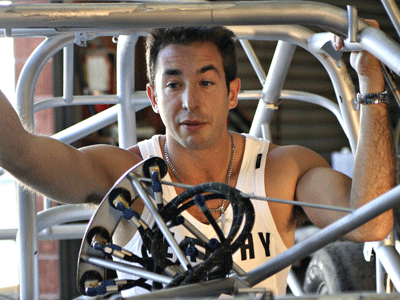
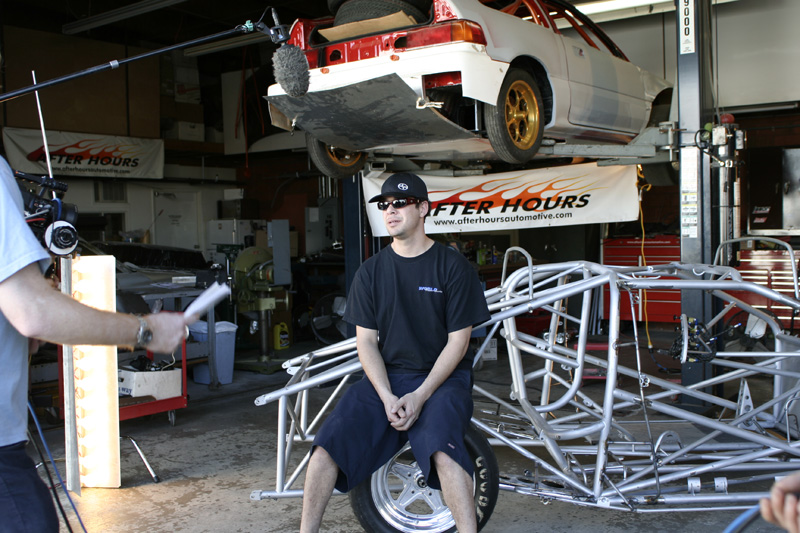
Chris, giving an interview. Man, that dude looks just like a movie star. |
 |
See what I mean? |
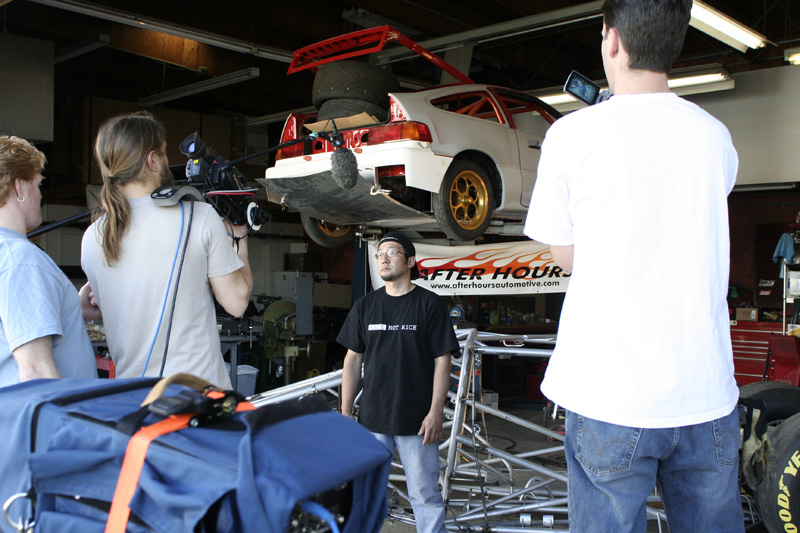 |
Brian, explaining the extensive fabrication and design work ahead.(probably will be lost on the cutting room floor) |
 |
Kareem, descibing his responsibilities as crew chief. (we call him the sheriff) |
 |
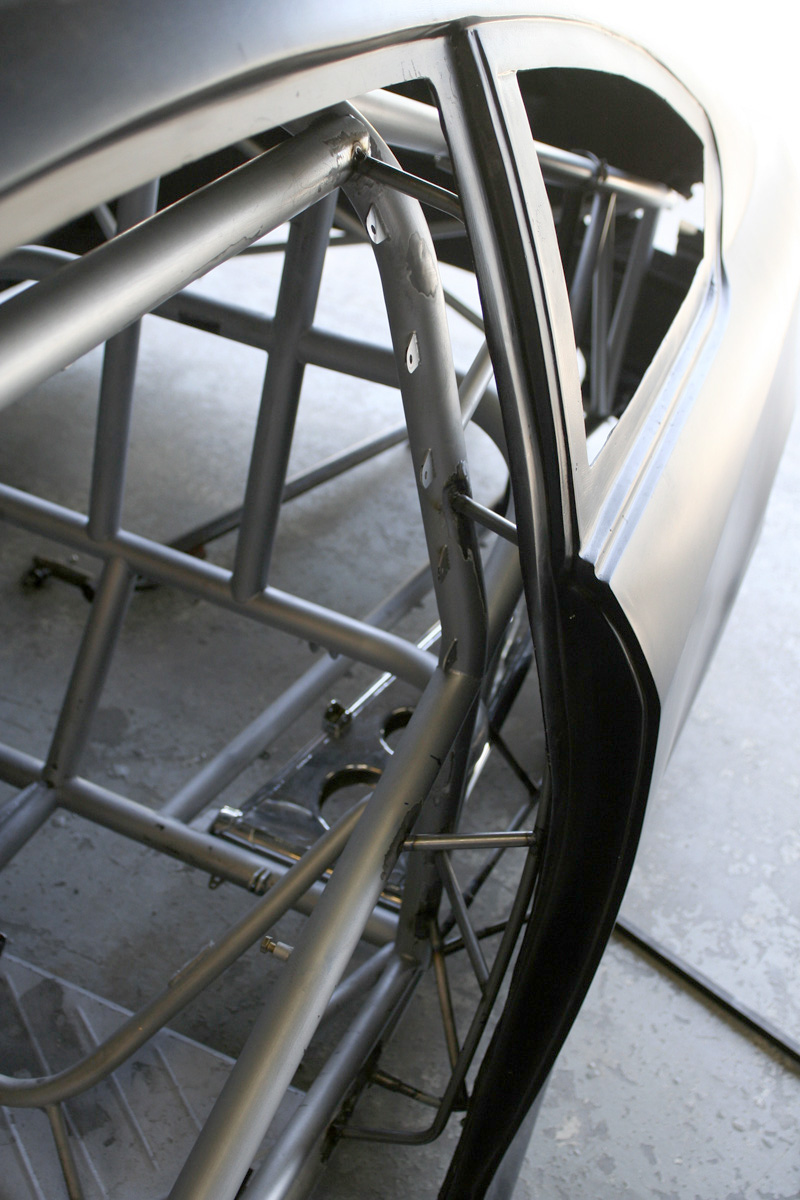
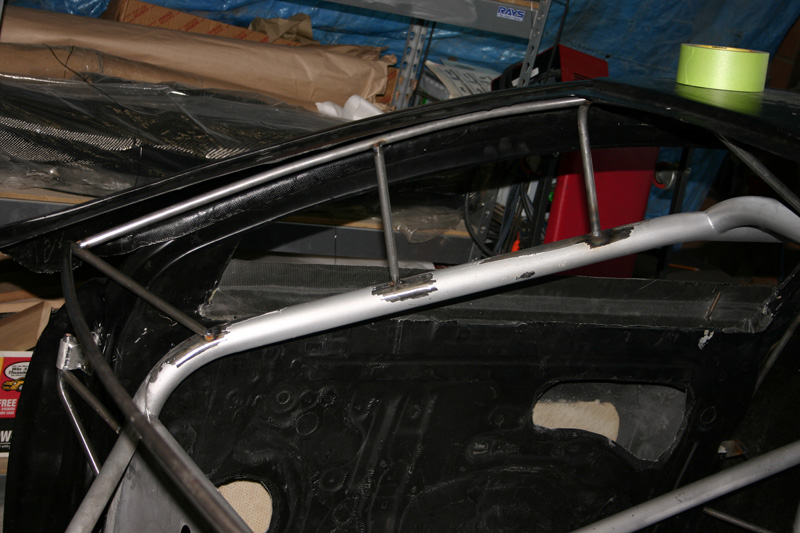
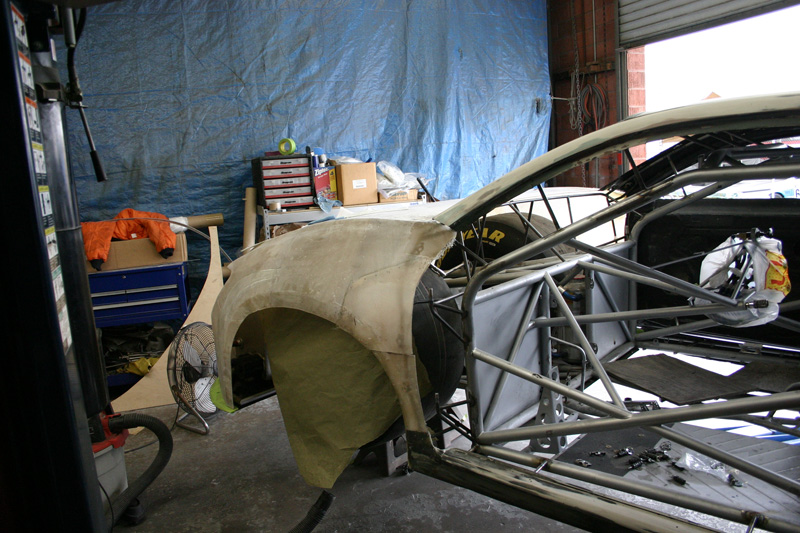
Here's the rear body mount. We made it go around the whole rear window so it would provide a lot of support as well as a secure mounting point for the lexan window. |
 |
A little closer look. Se how far away the main frame is from the mounts? |
 |
The class rules state that both of the doors must work. Here is one of the hinge brackets we fabricated and welded to the chassis. |
 |
We made the door hinges out of aluminum tubing and angle welded together. Notice the radiused ends on the tubes. The doors lift off the hinges and the these help to align them when they are put back on. |
 |
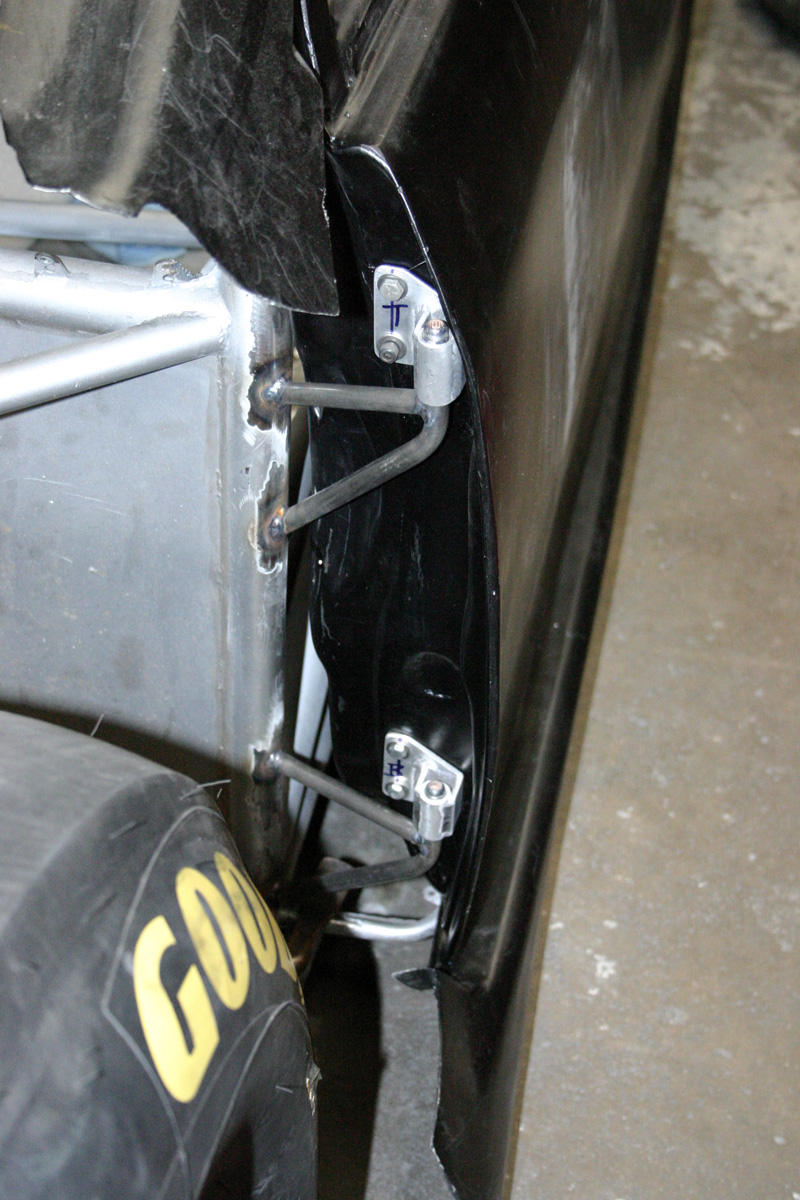
These are the dzus mounting tabs. They are hidden between the window mounting bolts. |
 |
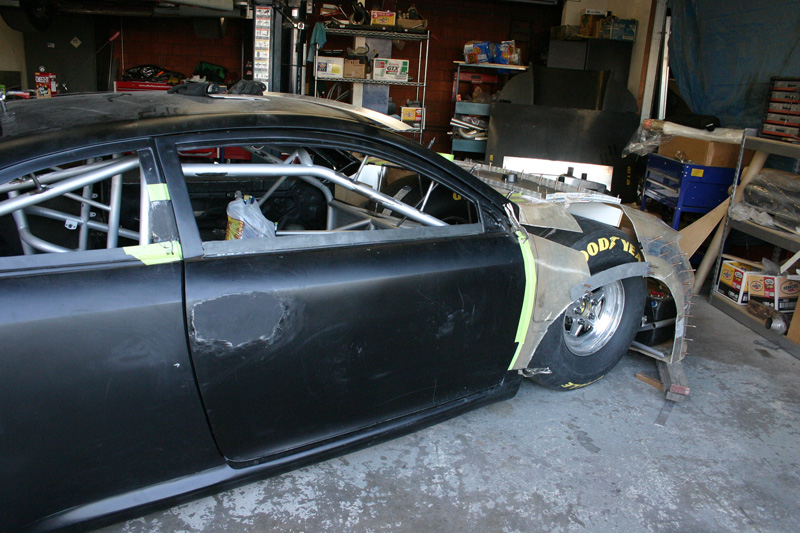
Here's the door mounted to the car. We later added some lateral support tubes to triangulate them and to provide mounting for the inner wheel tubs. |
 |
Another view of the door on the car. Looks almost done huh? NOT. |
 |
Brian, test fit the door. |
 |
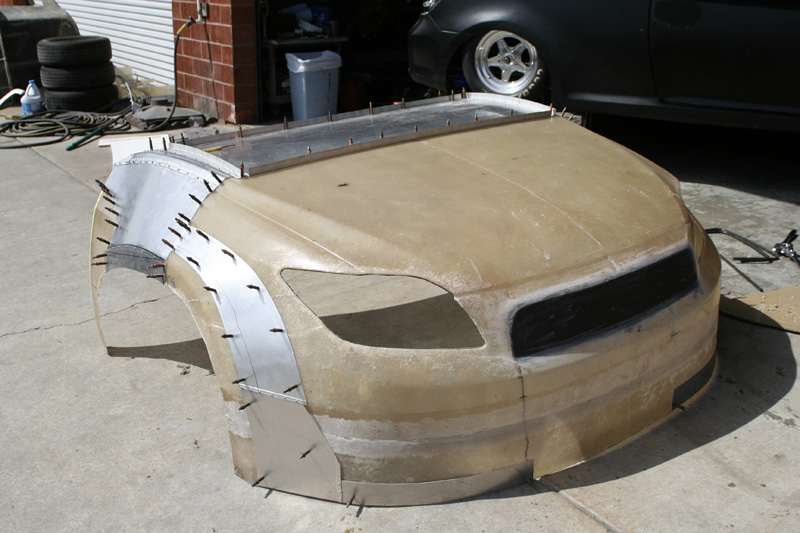
The nose after we laid the bottom extension. |
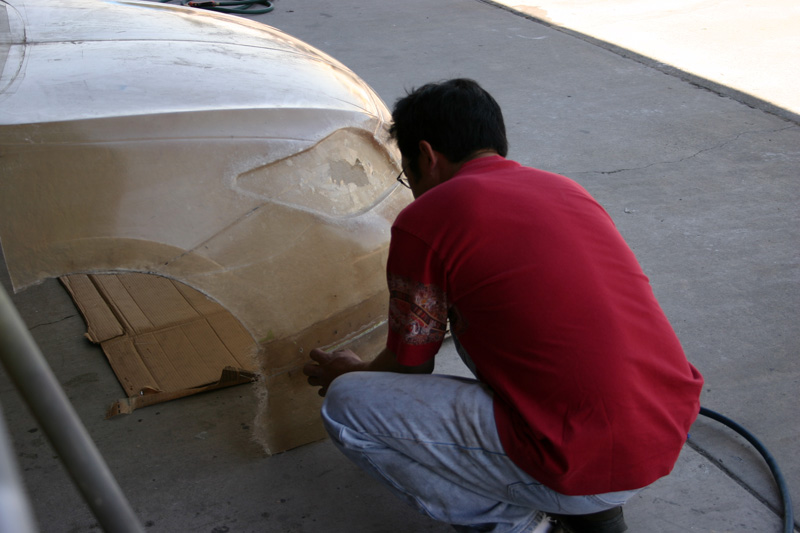 |
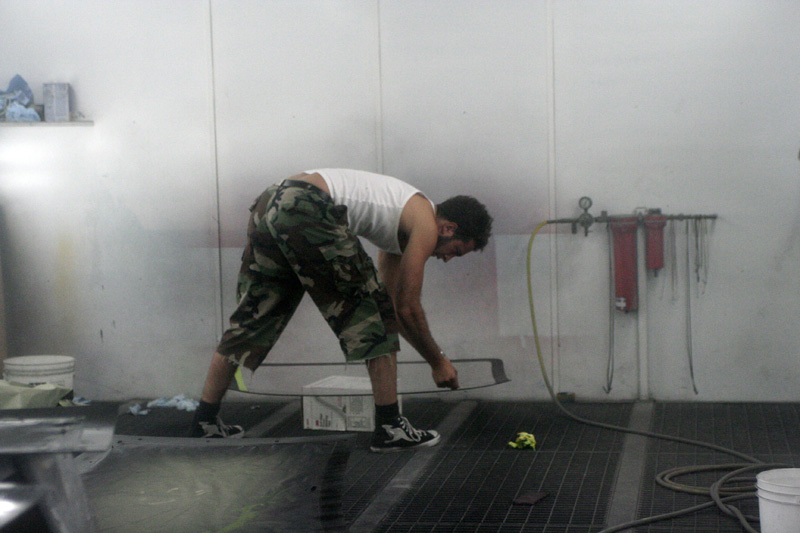
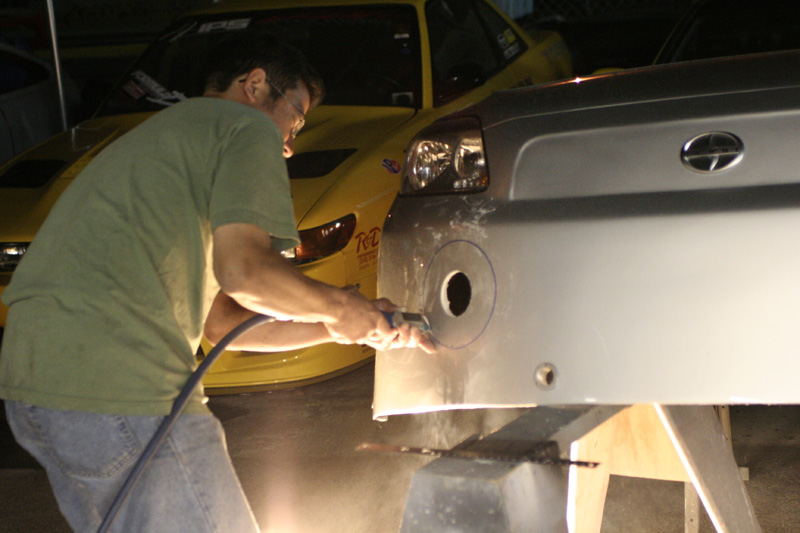
Grinding some fiberglass. SUCKS. |
 |
Now that we had the body mounted, the doors on and the front of the nose started, we could determine where the first cut had to be to make the nose longer. (by about a foot and a half !) |
 |
Determining how the door gap would be. |
 |
Close, but no cigar. Notice the 2x4 to get the neccessary tire clearance. |
 |
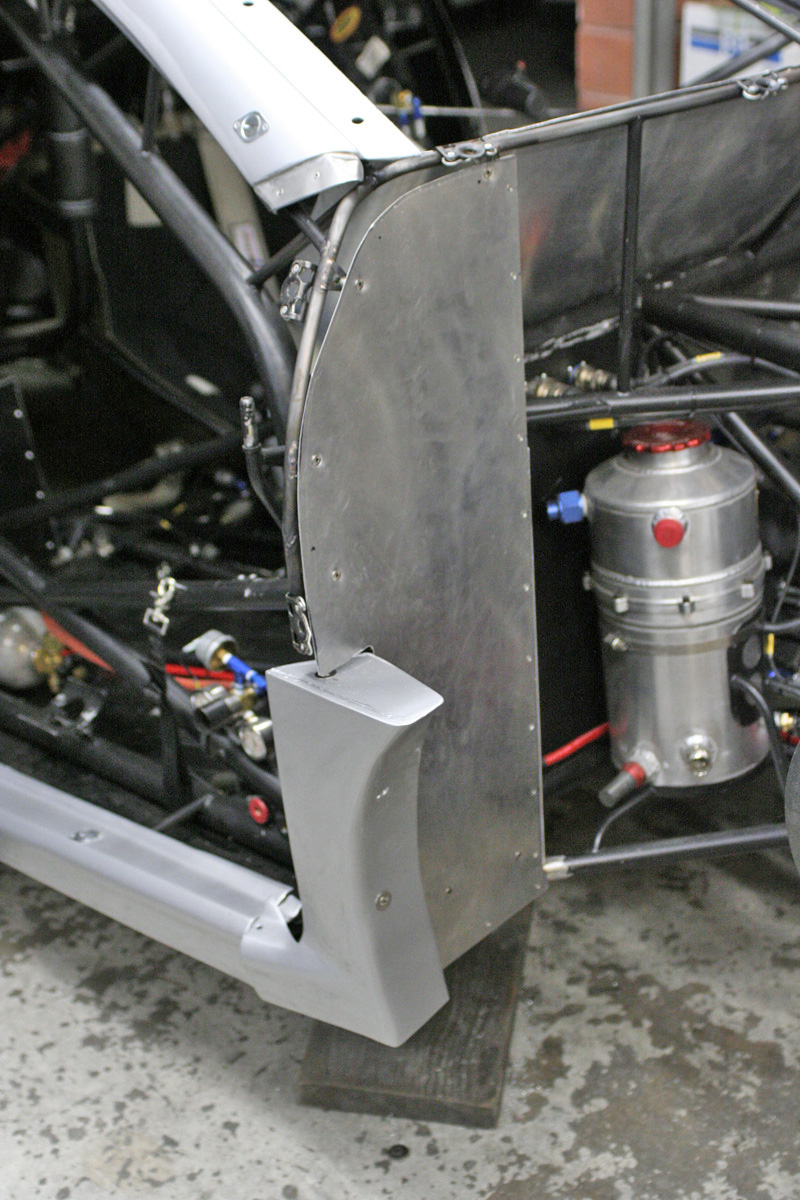
The front part of the body mount. |
 |
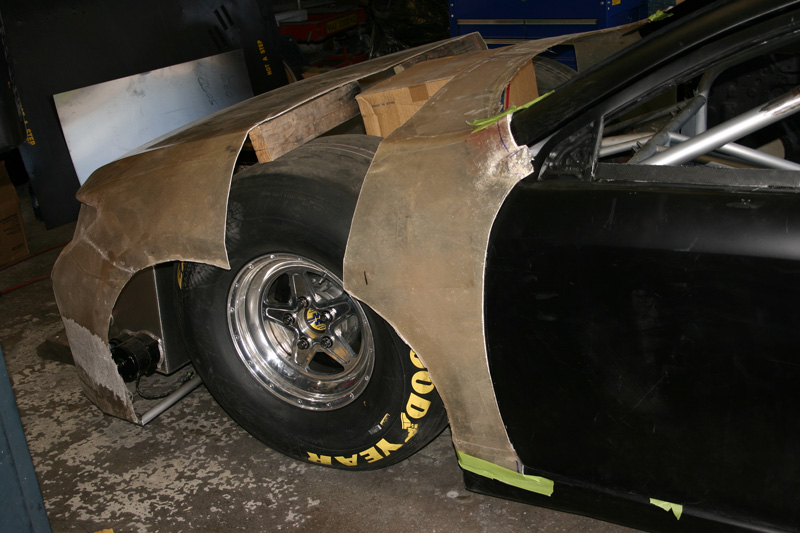
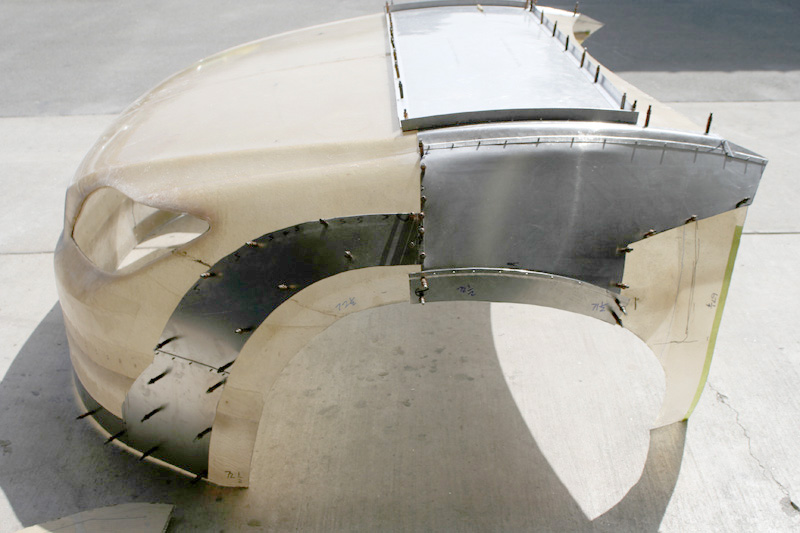
We had to put a couple more slices in the nose to make the contours match the stretch and also widened the front part of the wheelwells. |
 |
From this view, you can get an idea of how the front end will look. Look at how the whole car looks really slammed.(we were starting to get excited) |
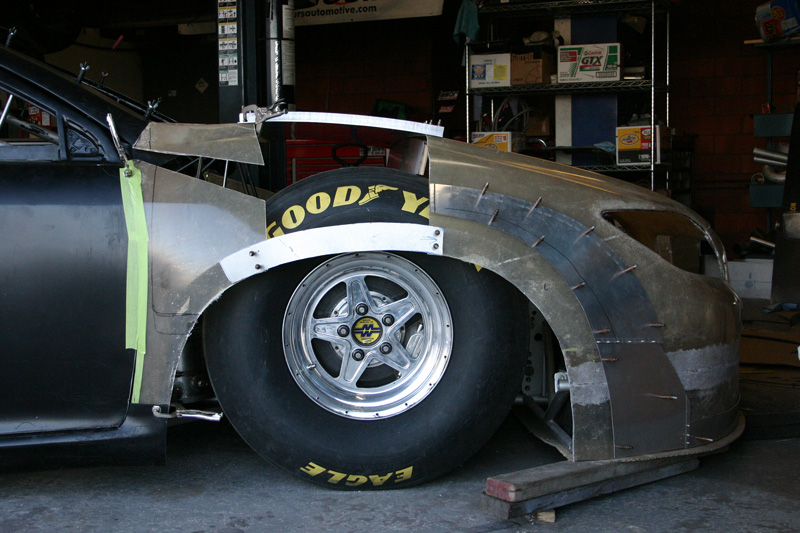 |
We started to add some aluminum to form the final wheelwell shape. |
 |
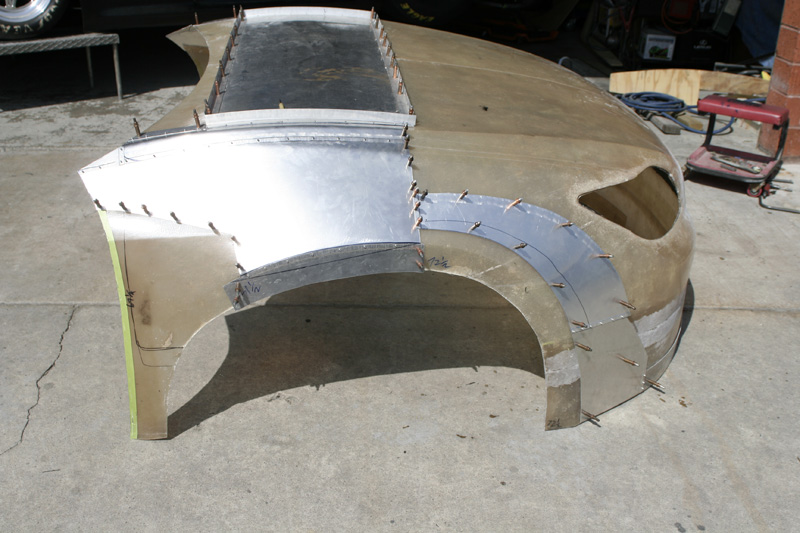
The front end needed to be widened about 4" on both sides and lengthened 18". We formed all of the patches with aluminum and cleco fastners to act as a "mold". (just like the lower front extension) |
 |
The side view. Looks kind of cool, like a cross between Pinhead and Robocop. |
 |
The top piece had a compound curve to it and we had to hammer the s**t out of it to achieve the proper "crown".(man, I wish I had an english wheel - sponsors? anyone?) |
 |
We also built one of our custom carbon fiber splittters for the front. Here we are test fitting the nose on the chassis, for the 250th time. |
 |
The two pieces of plywood are to help the nose to sit in the upside down position while we laid up the fiberglass. |
 |
Like this. |
 |
After the glass was laid up and the aluminum panels removed. |
 |
Now that fits a little better. |
 |
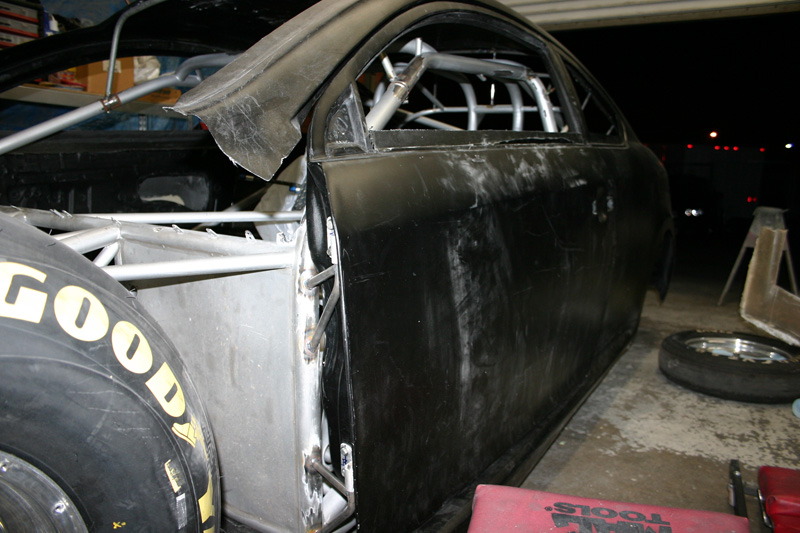
When we first recieved the body, it was black. Unfortunately, some fools painted it with krylon spray can black.(which nothing else will stick to) So, Kareem (another one of his crewchief duties) wiped off all of the black with acetone and towels. This is what was underneath. We had to work on the body to get the lines straight. (thats an understatement) |
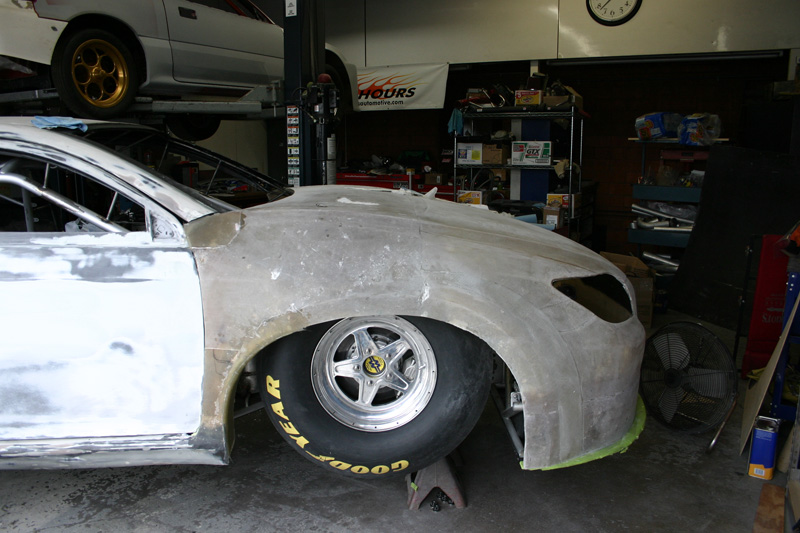 |
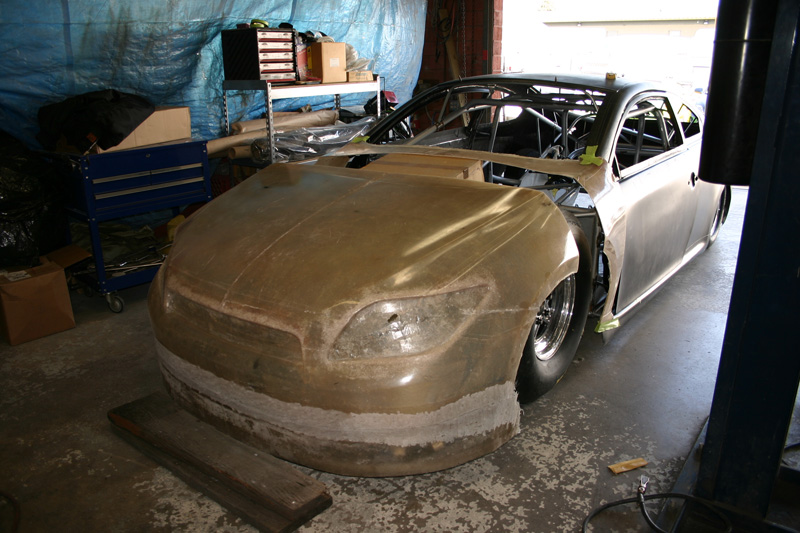
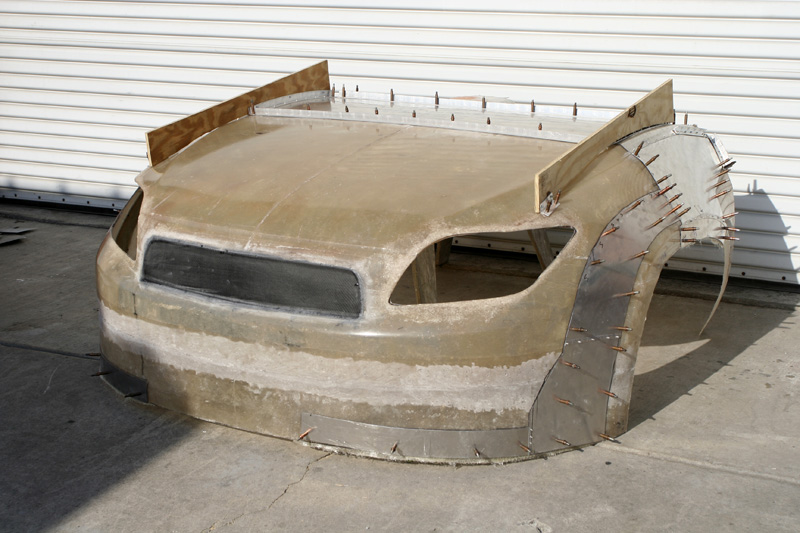
The new nose. See how we stretched it but kept the stock bodylines? Not so easy. Notice too how the top of the nose doesn't have the unnatural "hump" typical to most FWD drag cars. |
 |
We radiused the rear of the wheelwells to discourage air from entering and causing unneccessary drag. |
 |
The rear wheelwell radius. |
 |
|
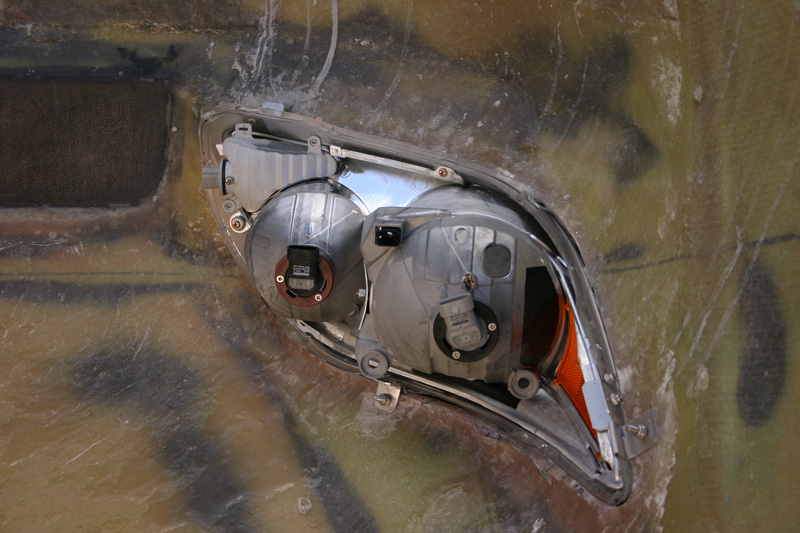 |
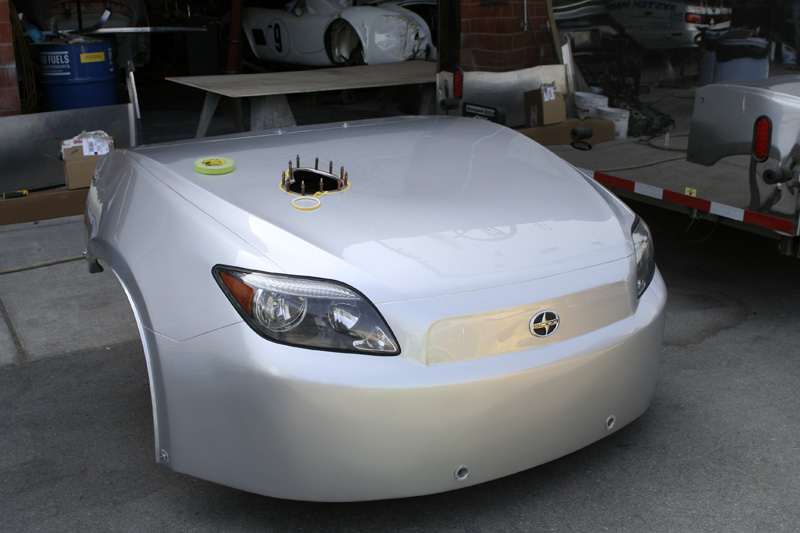
We totally blew up the stock headlight assemblies and used only the lenses and bulb housings. (with bulbs - we told you they were going to work) The lenses are plastic and weigh almost nothing. |
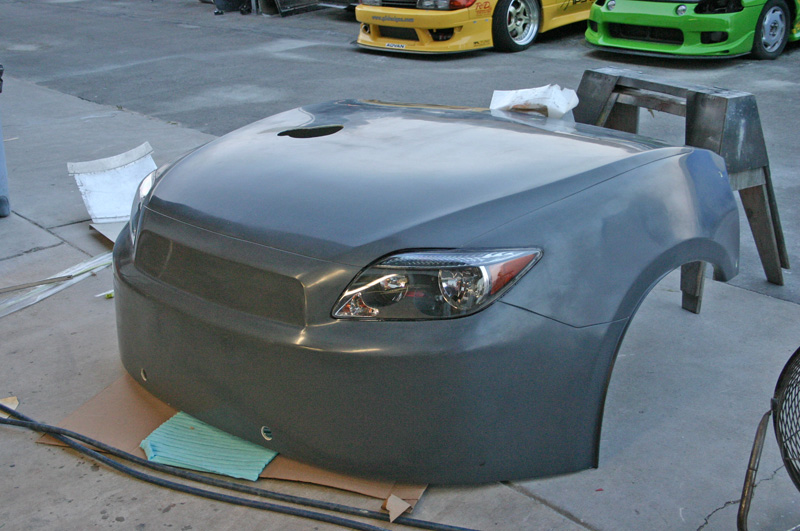 |
After 120 hrs of sanding, filling, and primering. Here is the nose ready to be used as a "buck" for the mold. See how the stock head lights make the nose look more "real"? |
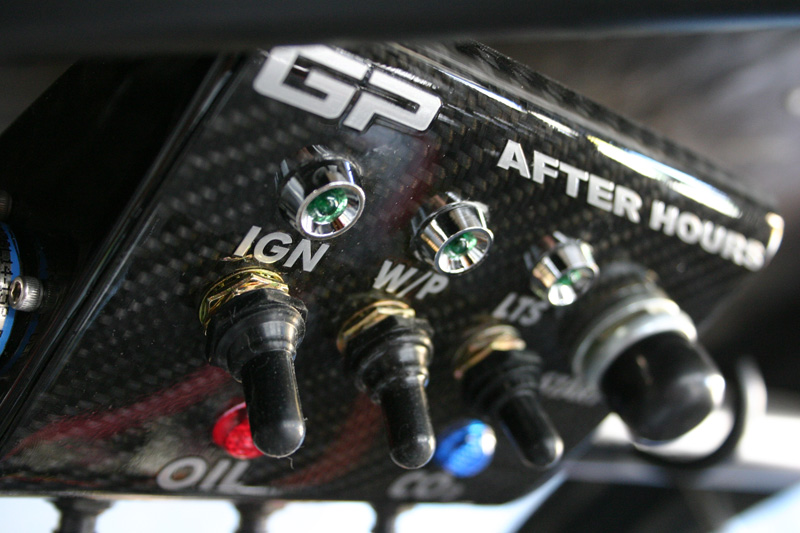 |
This is a custom carbon fiber switchbox we made for our buddy "G" (Greg Pyles) at GP motorsports. He did all of the dope wiring for this project. |
 |
This is the body after we block sanded the whole thing and coated it with polyester primer. |
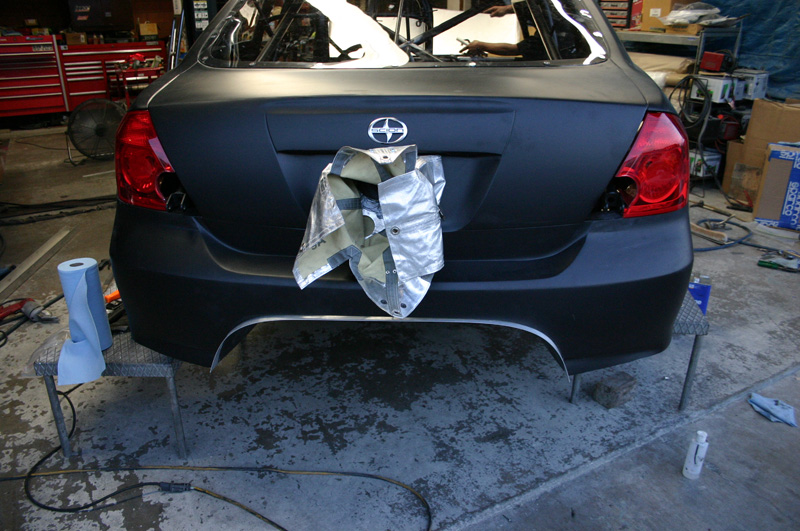 |
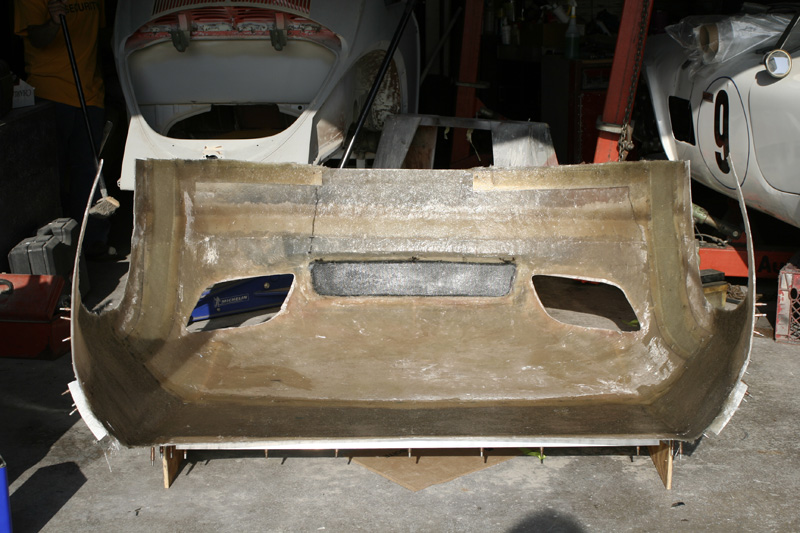
We also used the stock taillights.(they also work) The reverse lights were cut out for the wheelie bar mounts to pass through.(cool huh?) Also mounted is the parachute bracket and housing. The chassis has an underbody diffuser which we had to extend to match the tC rear. |
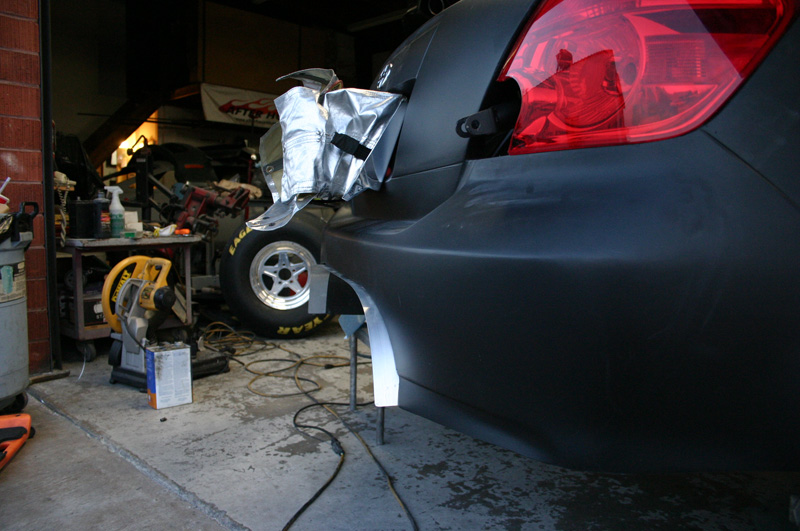 |
Another view of the diffuser extension. |
 |
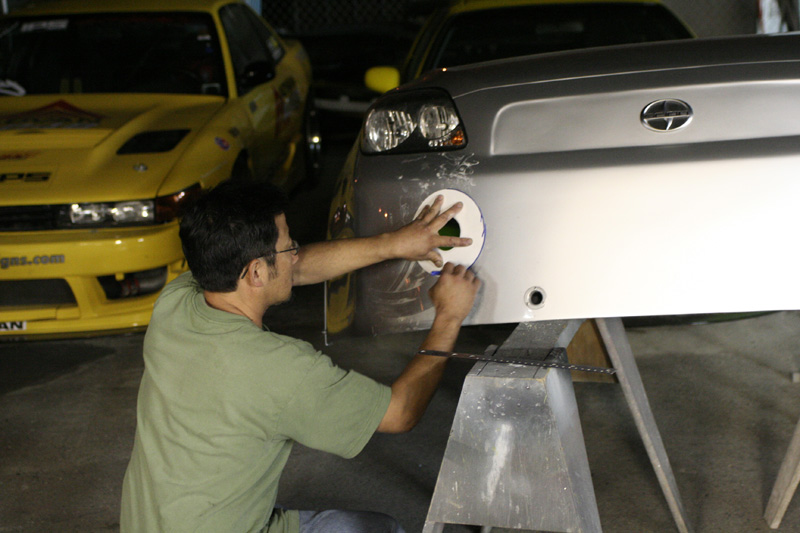
These are the locating pins for the front end. We made them to look like missles. |
 |
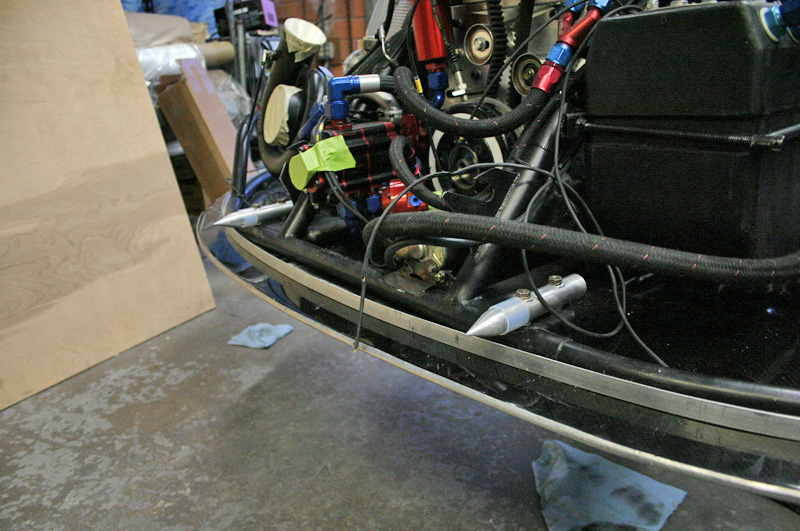
Brian, cutting the hole in the hood for the exhaust. |
 |
We formed a heat shield out of a piece of stainless which we hammerformed. |
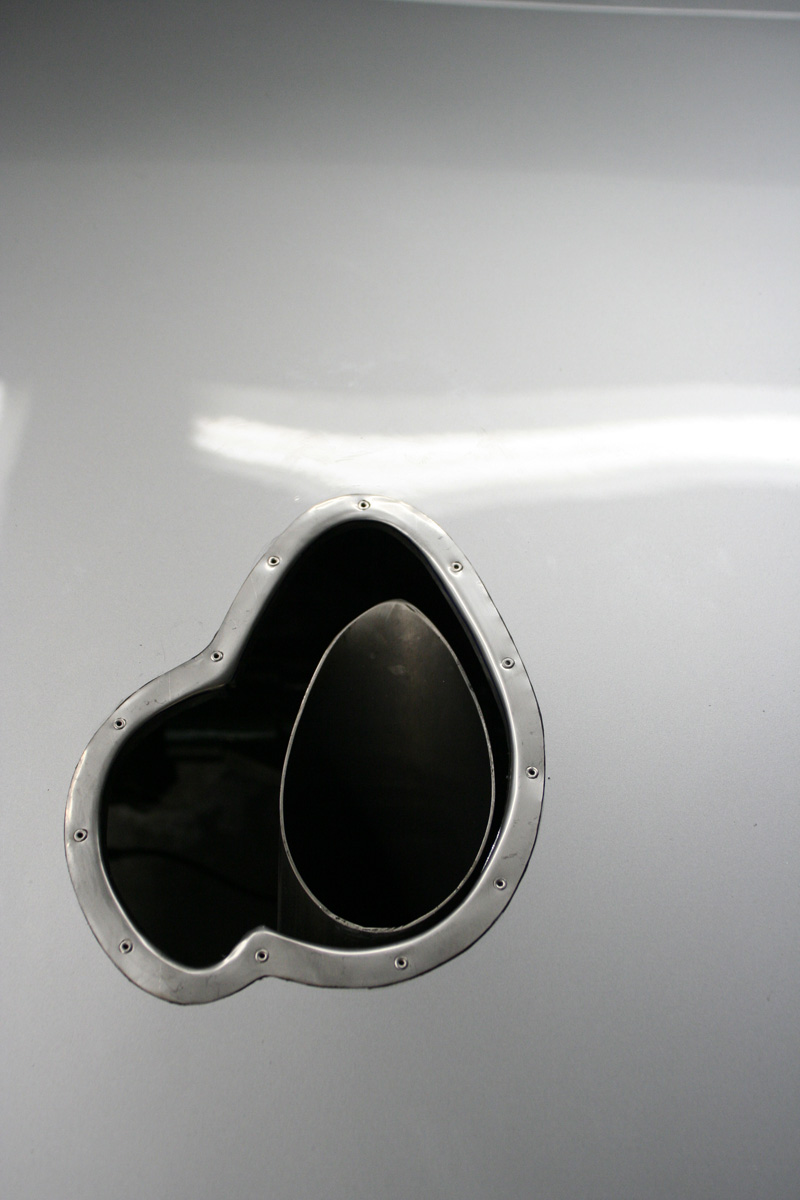 |
The top view of the exhaust port. |
 |
Yikes! The turbo looks like it will suck you in. The air intake is from a carburated V8 tunnel ram. |
 |
Do you think we are going to make it Kareem?? Man, I don't know... |
 |
Hey, that looks like that guy, Christian something.. Whats he doing? |
 |
These are the inner wheel tubs. They seal off the firewall to prevent smoke and methanol fumes from poisoning our sensitive driver. |
 |
Marking the cutout for the air intake. |
 |
Sawing it out at 1:00 am. I hope its straight. |
 |
We even put the team manager Ben Shannon to work. |
 |
Rolling it out of the shop. Hey, is that the sun coming out? |
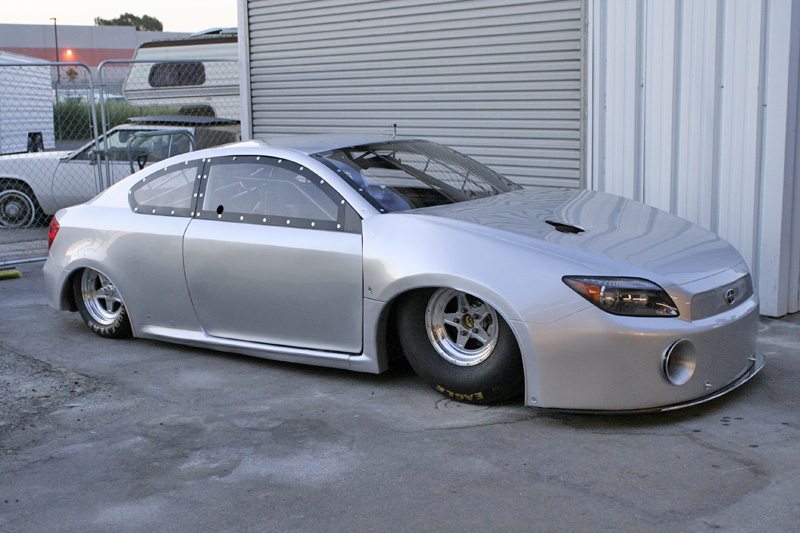 |
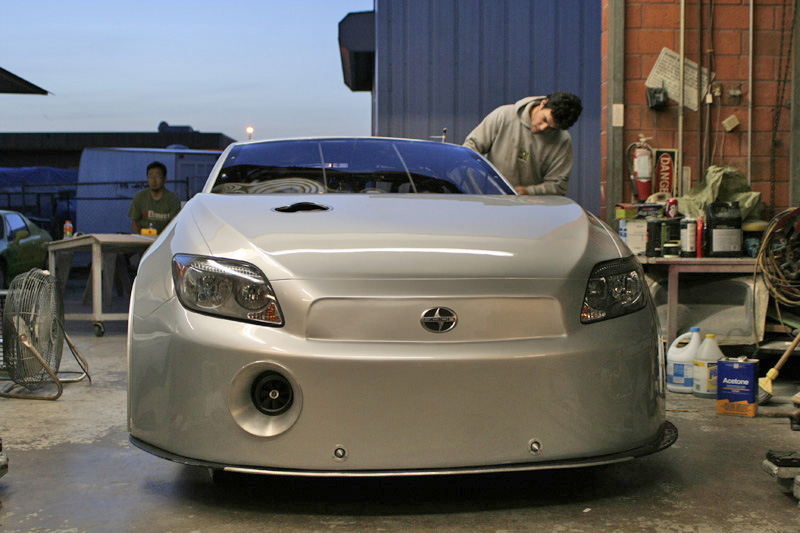
Well, here it is. all done except for the vinyl graphics. Sometime around 6:00 am. |
 |
Does this guy look happy or what? |
 |
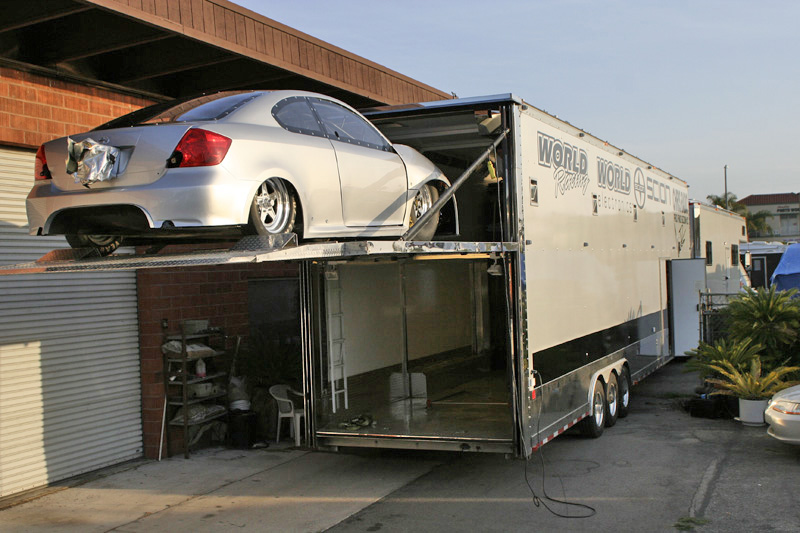
Loading it on the rig. |
 |
Look how low the car looks. Sick. |